Hi ladies, if you've been feeling weaker or noticing your strength just isn't what it used to be, you are not alone. But here's the truth, muscle loss with age 50, 60, 70, or even older, doesn't have to continue to happen. There's a lot we can do to prevent it, and regain it, and I see that all the time with my clients.
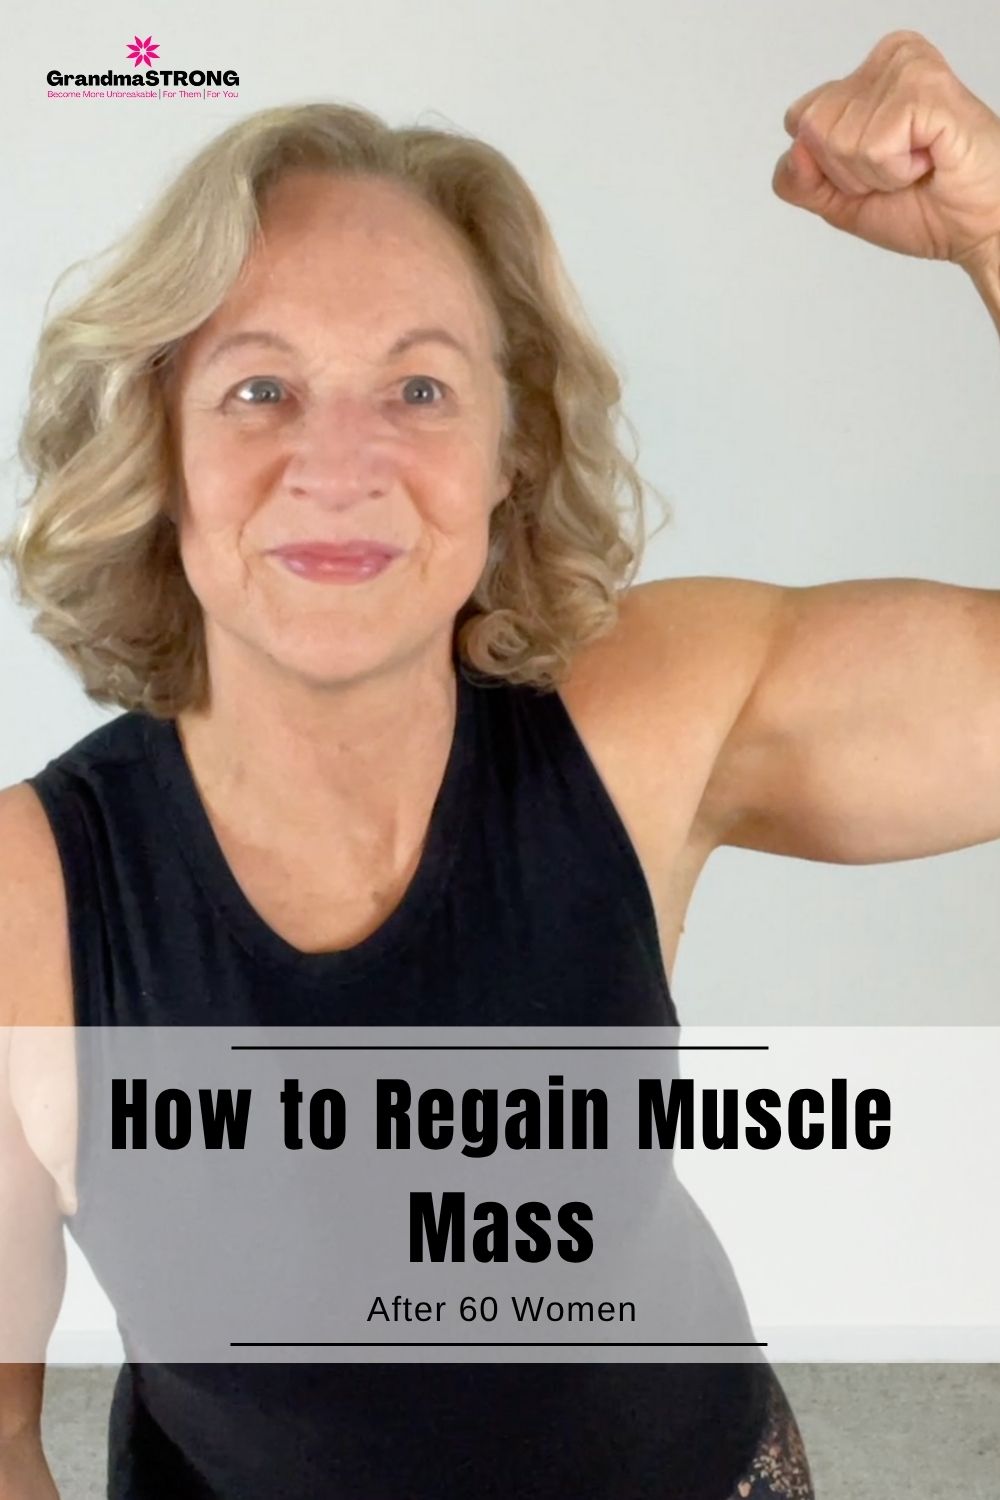
So whether your in your 50s, a senior, or elderly (whichever label fits), today in this 'How to Regain Muscle Mass After 60 Women' lesson I'm going to show you how to reverse that muscle loss and rebuild the strength that your body deserves. I'll walk you through three simple but powerful movements that you can start today, no matter your current fitness level.
So let's get strong, not just for now, but for the decades and decades to come.
Practical Lifestyle Tips
Now, by the time we're in our 60s, our muscle mass is declining by about 8 to 10% every decade. That is a lot of muscle mass lost.
It's due to different things that hormones play. We lose testosterone and other hormones and it's harder for us also to retain protein. So that's where we need to be adding protein to our diet.
Protein nutrition tip to support muscle gain:

- Aim for a palm size of protein at every meal if you're a woman, two palm sizes if you're a man. That's just a good rule if you don't want to weigh things out.
- But generally about 30 grams of protein at every meal.
- By the end of the day, roughly aim for 100 grams of protein.
It's really important to maintain that body stronger as we age, and when we do strength training, that helps to exponentially regain muscle mass lost to inactivity and inadequate nutrition.
Regular strength training causes micro tears in our muscles (that's a good thing), they heal (protein being their primary source) and we get a nicer quality stronger muscle in return.
Related muscle nourishing posts, Click Image/Link
Watch: 3 Simple Moves To Reverse Muscle Loss
Ready, let's jump into the 'How to regain muscle mass after 60 women' lesson:
So let's get right into it with three moves that we can do to help that body gain muscle and be the strongest you can be into your latter decades.
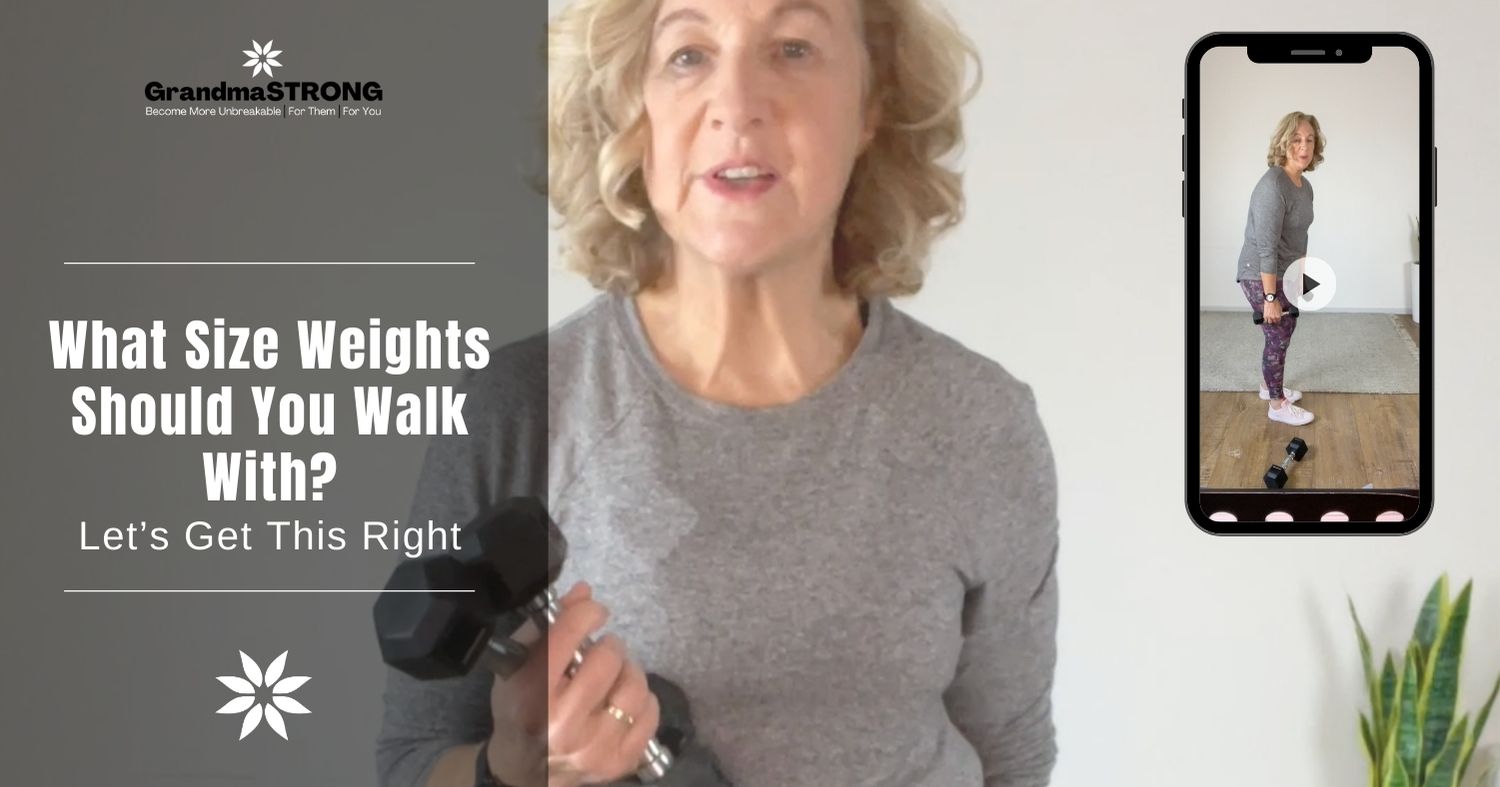
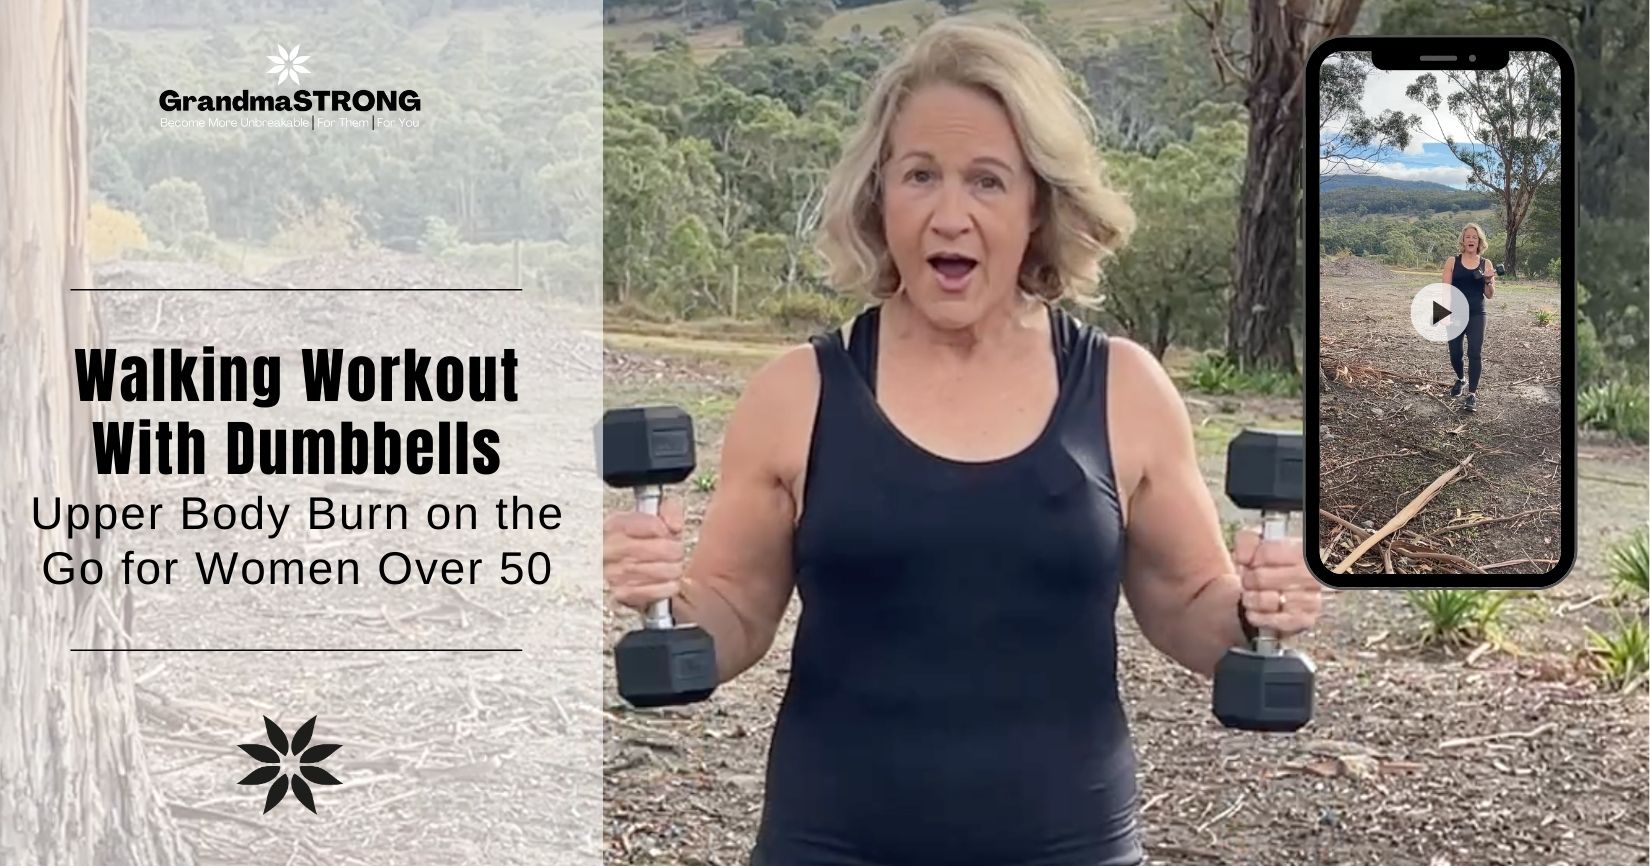
MOVE 1: Walk with Weights - Carry
Why do we need a walk with weights?
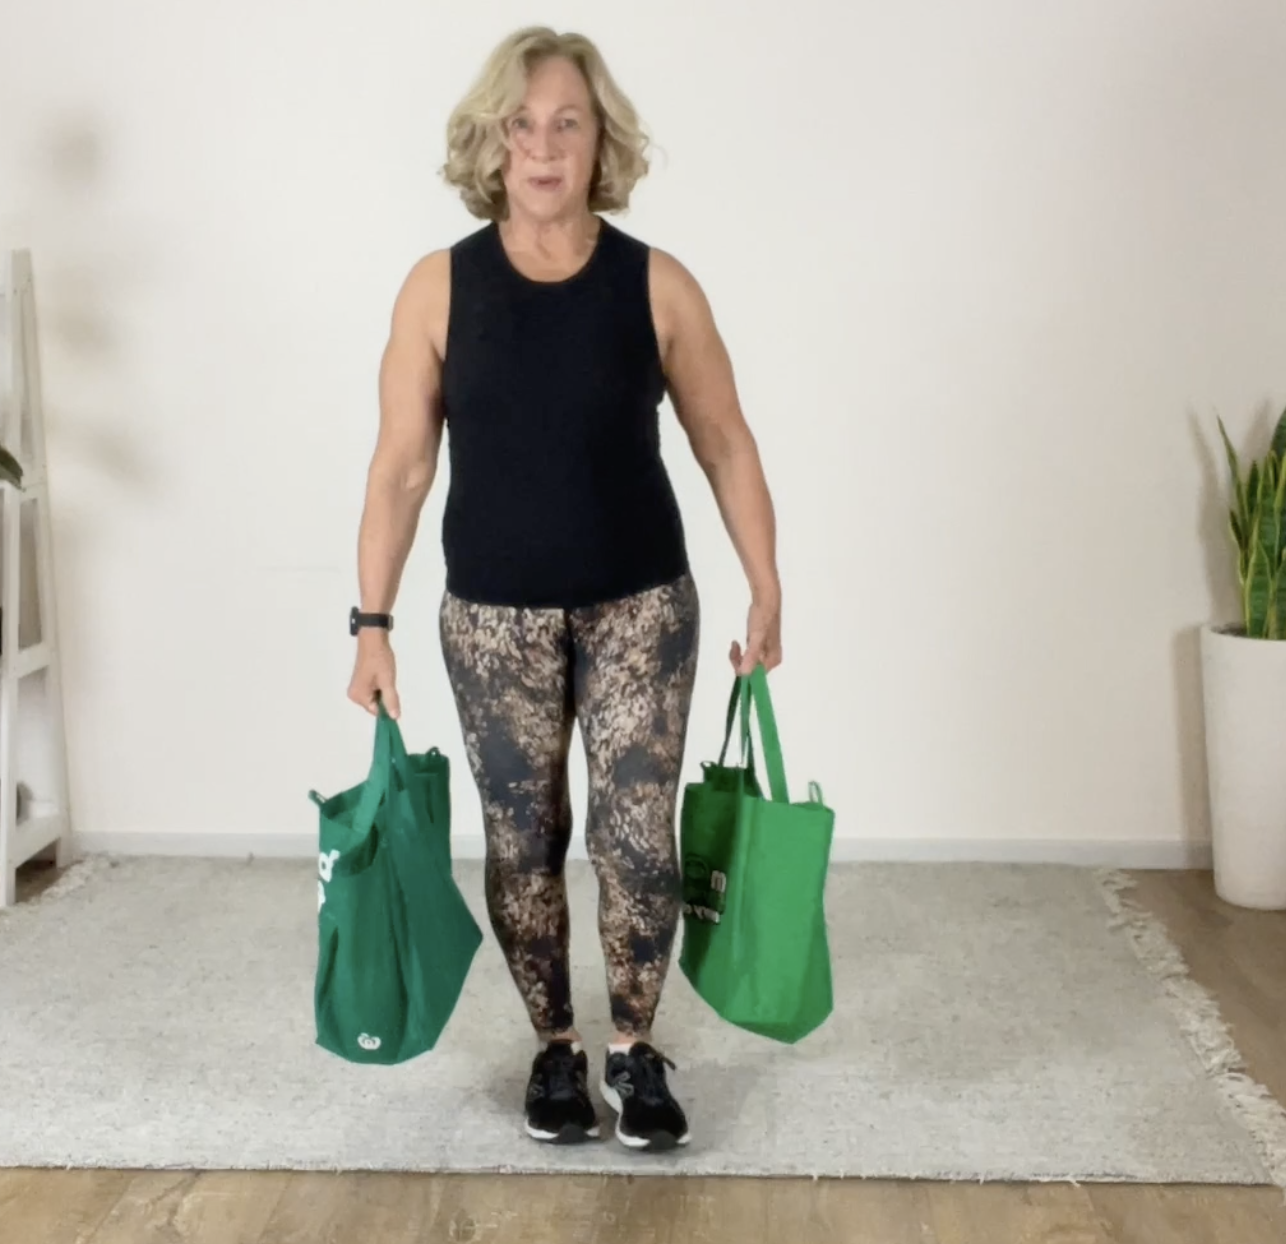
Because if we're coming out of the grocery store and we have a bag in each hand, we need to be able to carry those well and not limping, not going side to side, standing tall, not allowing those weights to kind of bend us over and hunch us over.
So as we walk along, we need to think about picking ourselves up nice and tall.
Now, I've simply got some oil, some cooking oil, three kilos in one here and some drinks in the other. But you can be putting rocks in there, whatever you want, if you don't have some kettlebells.
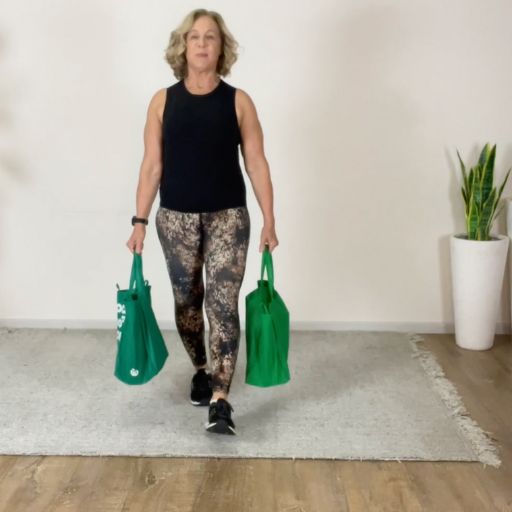
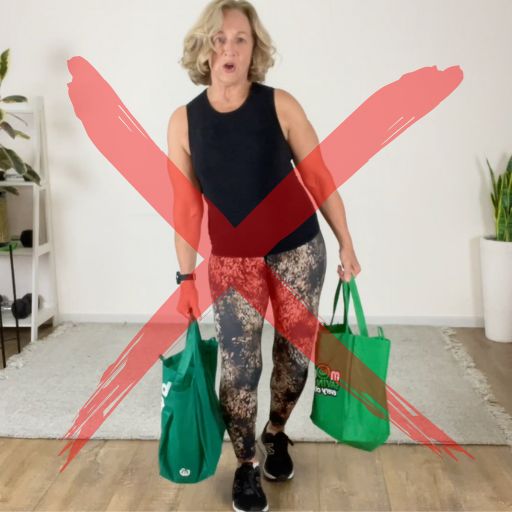
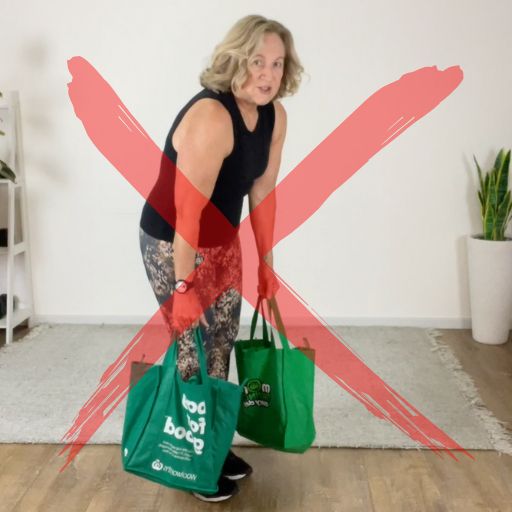
1. The technique here is to:
- Stand tall, shoulders back, chest up, looking ahead of yourself.
- Not allowing the weight of what you're carrying to cause you to swing side to side, or tilted, or hunched/bent over.
- Start with something that challenges you, and be able to walk for a minute with the weight, but if it's too light, and mine today are too light, then load them up with more weight.
- Don't carry anything (weight load) that causes pain. Drop the weight load and progress slowly.
- Eventually, seek to progress to being able to carry (split across both hands) 50-75% (the higher the % the higher the longevity marker) of your bodyweight.
2. What muscle and strength does it build:
- So this is giving us good grip strength
- It's working up through our forearms, through our shoulders, through our back, our upper back, our core, and even into our glutes and legs
- But primarily the upper back and grip
- The longer the carry walks the greater the strength endurance you'll build
Whilst the progression goal is 50-75% of your bodyweight, initially start as low as needed, and don't be concerned where that is, just focus on where you want to get to, and you will do it
Related posts on Walking (Carrying) with Weights, Click Image/Link
MOVE 2: Sit Stand & Squat (With Weight)
1. Why squatting matters:
So, we squat every day, and still people say to me, I don't know how to squat.
Yes, you do, perhaps not well, but you do. Every time we sit down the toilet, every time we sit down on our chair to have dinner, every time we sit down on the bus to go to work, that's a squat.
2. Basic sit stand squat technique:
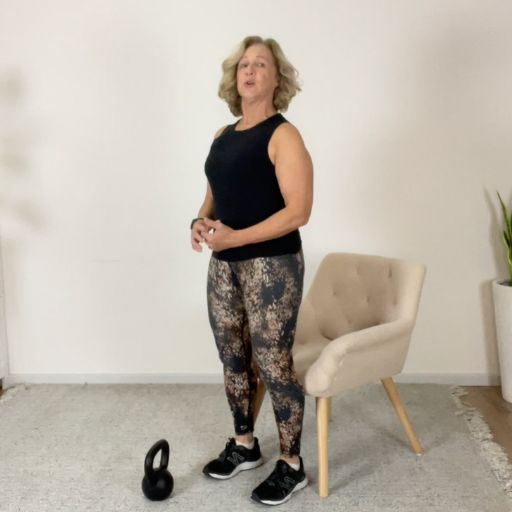
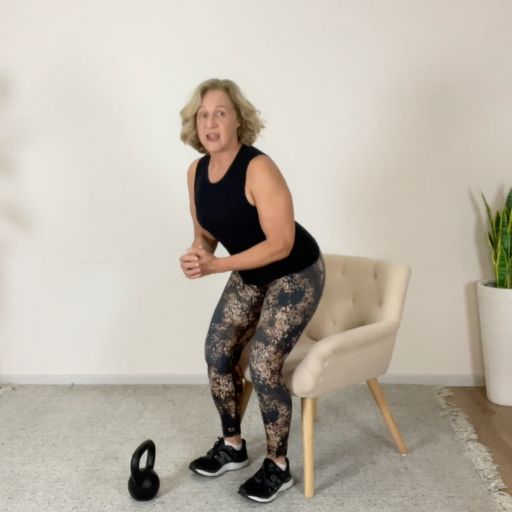
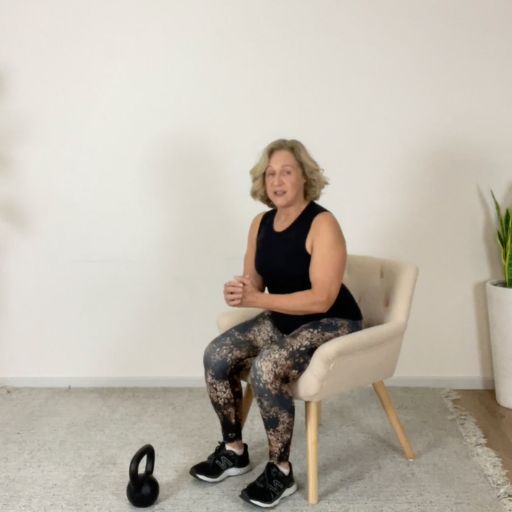
So what I want you to position yourself in front of a sturdy chair:
- The weight is in the heels.
- We're going to take our bottom down,
- Tap down into the chair (Don't plonk and stay).
Then:
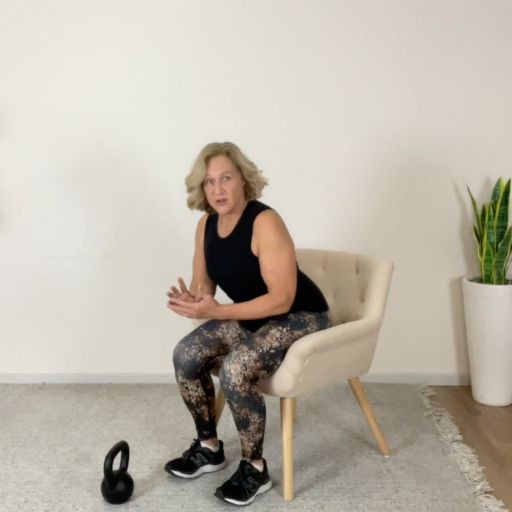
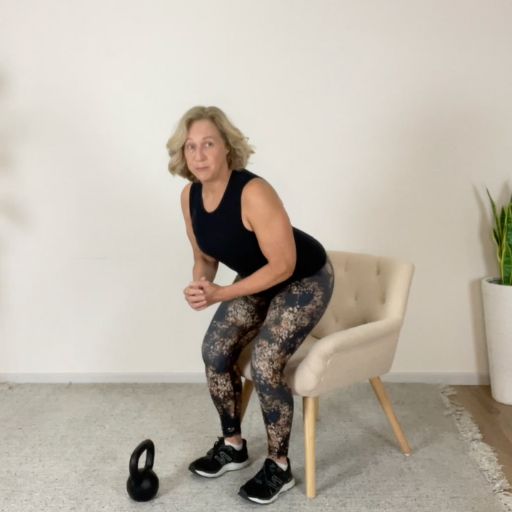
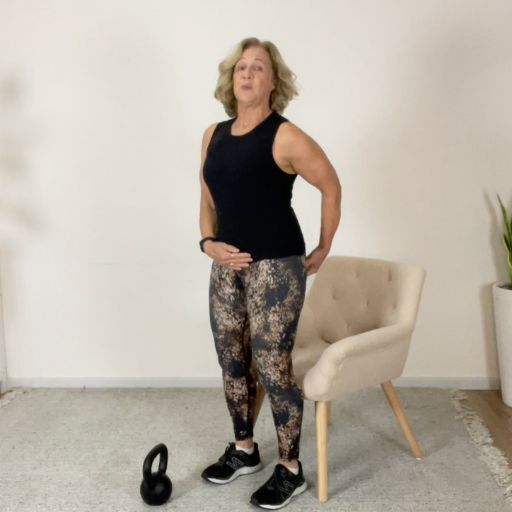
- Leaning forward.
- Push up through your heels, and stand up tall.
- And every time you stand up I want you to squeeze these glutes.
So as we get stronger at that, we can actually alter the tempo.
- So we can go down slowly
- Hover part way through for a moment, then come down
- And we can come up faster remembering to squeeze those glutes at the top
- There are many variations of this tempo change, alter it around
3. VARIATION Single-Leg sit stand squat:
And what we can do next is we can take one foot up. So all I'm doing here is I'm taking a foot up or only having one foots toe touching the ground.
You may want to hold a broomstick or pole beside you to help to balance yourself with this.
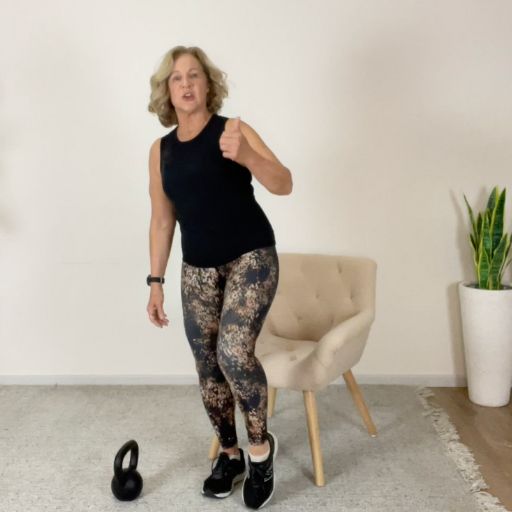
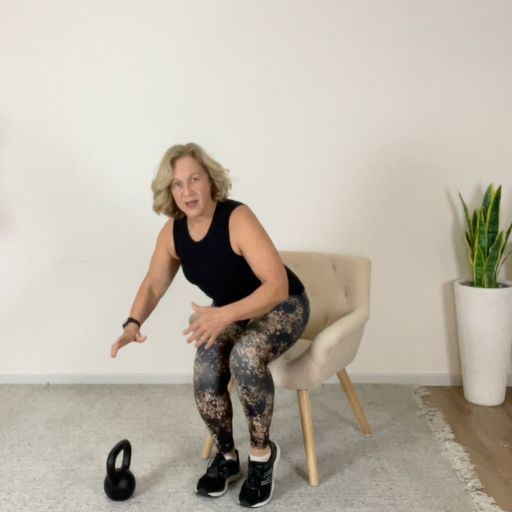
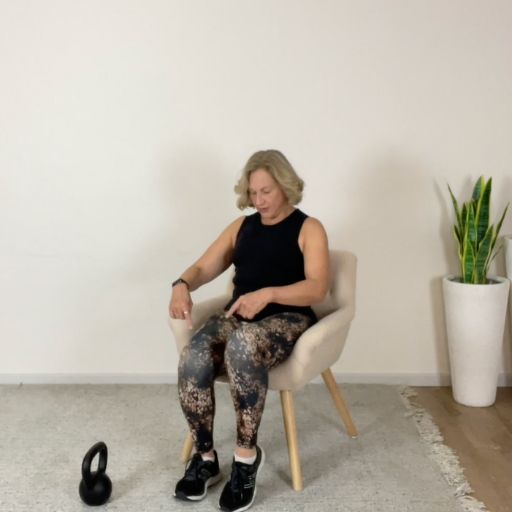
- With one foot elevated or only a toe touching.
- We're going to take our bottom down.
- This time sit down into the chair at start and eventually just tap and then up again.
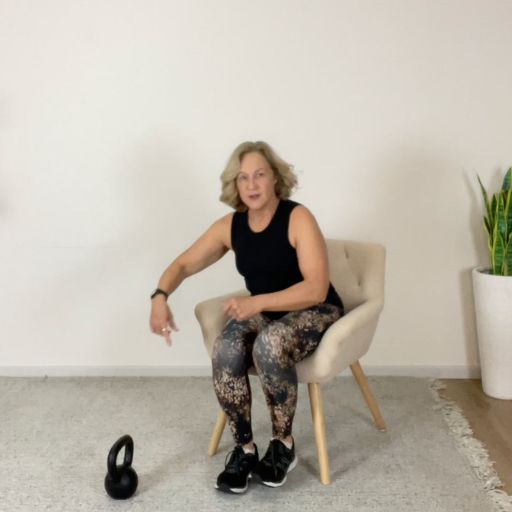
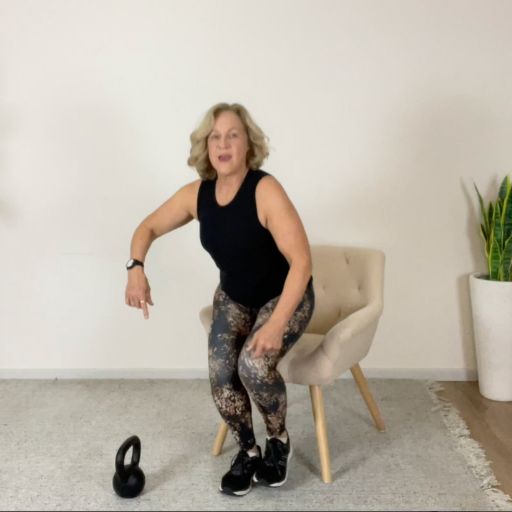
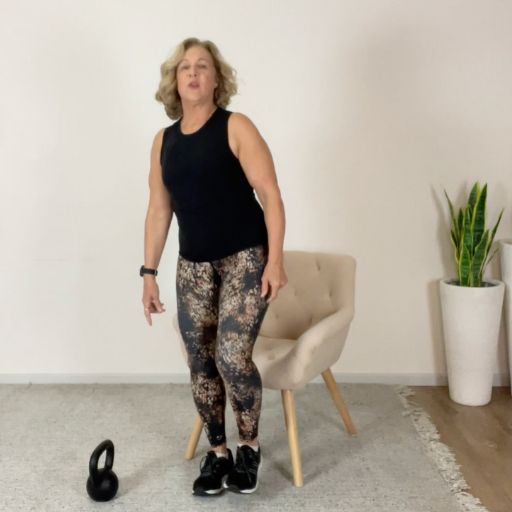
- Leaning forward (added by pole if needed),
- Push up through that one leg heel, and stand up tall.
- And remember to squeeze the glutes at the top.
4. Adding weight:
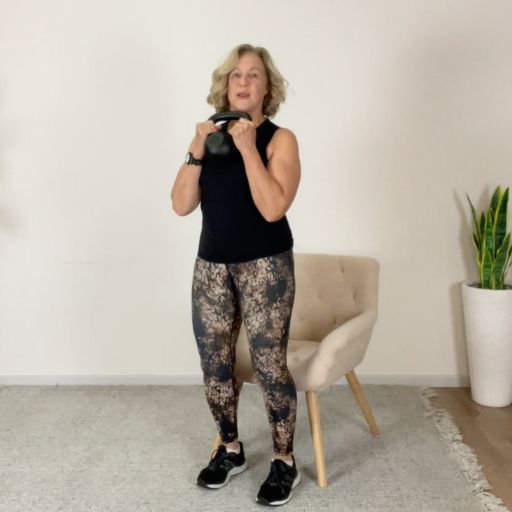
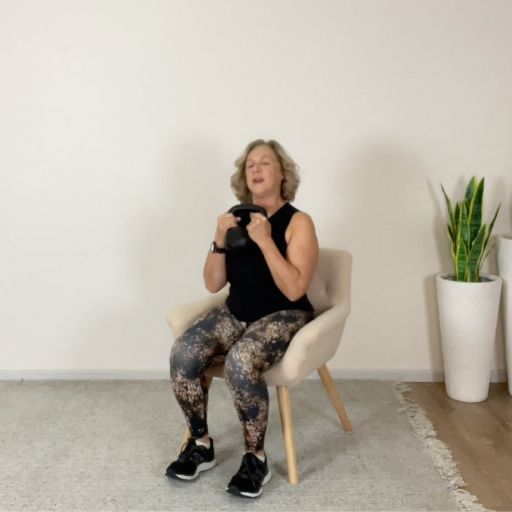
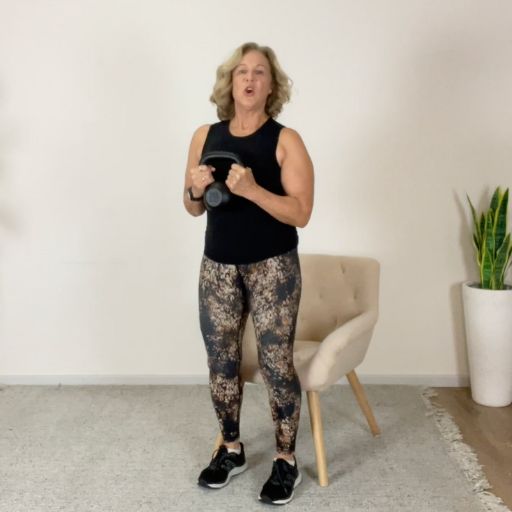
Now what we can do to make that a little bit harder is we can take a weight, we can come down with our weight and have a practice with that a few times.
So REMEMBER, strengthening your body is all progression. Nobody gets to the goal straight away. And we're always aiming to go that little bit better.

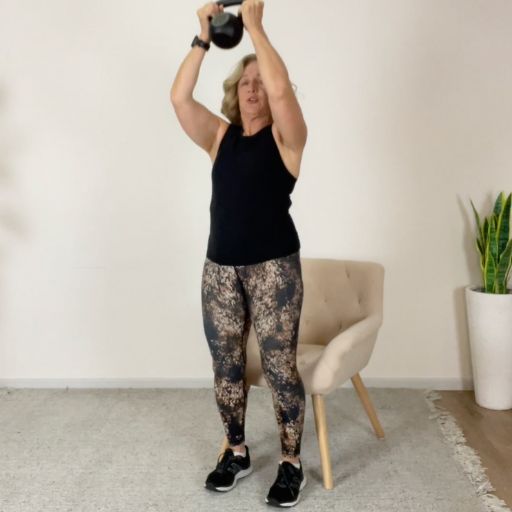

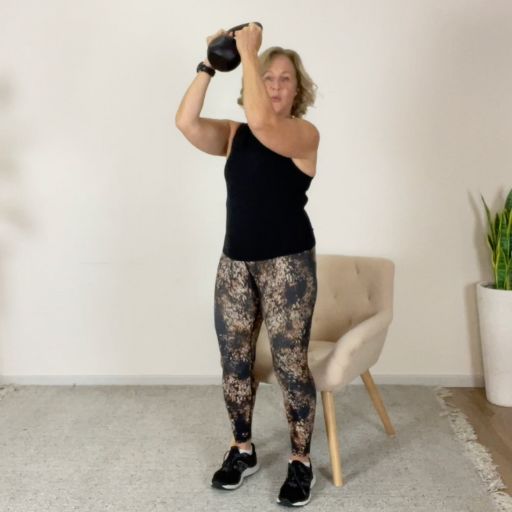
Now let's engage the upper body with the weight.
- And as I come up, I'm doing a press.
Now, you don't want to be working through pain. So, if that's sore for your shoulders, don't do it or - Try a Half Press. Again don't work through pain, and if there is just continue with the squats.
Once your comfortable with that try:
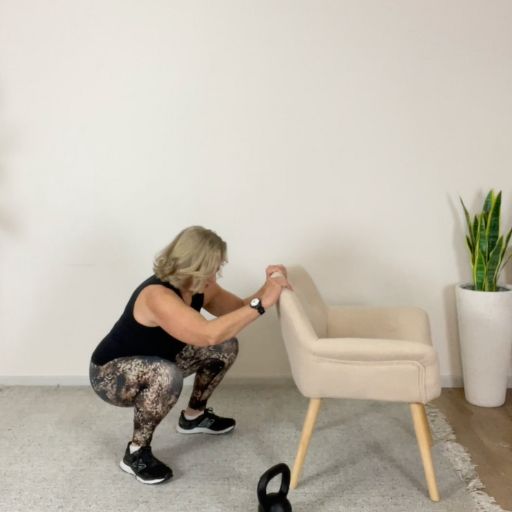
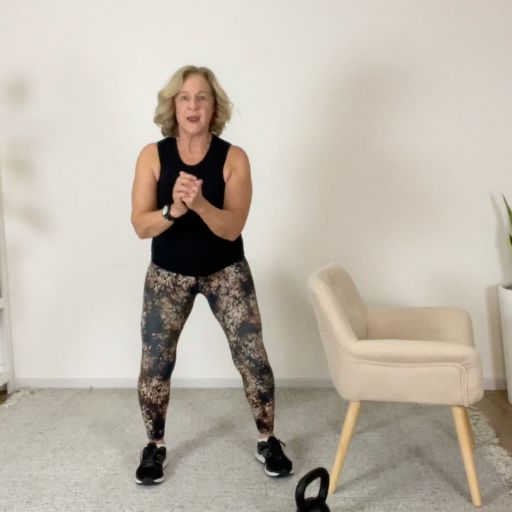
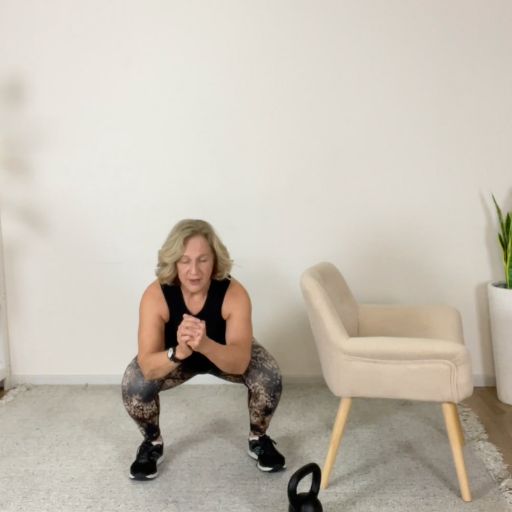
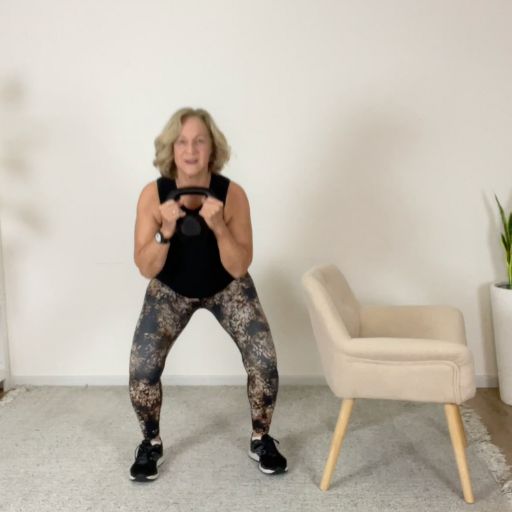
We can begin the transition to an un-assisted squat
- Start by holding the back of the chair.
- Or a pole to keep your balance ( as Coach Sheree is imitating in images 2 & 3.
- And when confident we can add some weight to that un-assisted squat.
5. What muscles are we building:
- So as we're doing our squat, we're working our glutes, hamstrings, our quadriceps, but also calves, core, hips, some back muscles as well.
- When we add overhead press, we're working our, arms, shoulders, back, and chest. Along with getting our heart rate up quite a lot.
MOVE 3: Plank & Pushup Variations
1. Why it matters:
Now, a plank on its own without doing anything else is not very functional, but being able to perform a plank works a whole lot of muscles that we need to be able to get up off the floor with.
It works our core, back, shoulders, arms, legs, a whole pile of things, but primarily the core.
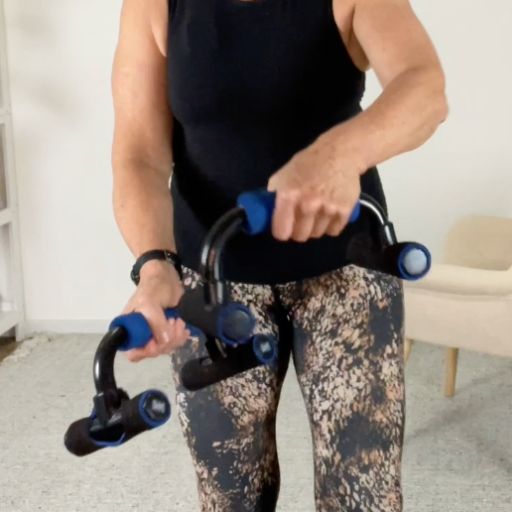
Now, some of you that don't like your hands in that plank position on the floor may find that some little handholds that you can buy from any sports store, so they keep the hands in a bit better alignment, or you can have your hands on dumbbells.
So dumbbells will also help to keep your hands in the right alignment.
Today, I'll be using these on and off, but I'm going to show you first of all, the easier version, how to do a plank from a chair.
2. Chair plank Do's & Don'ts:
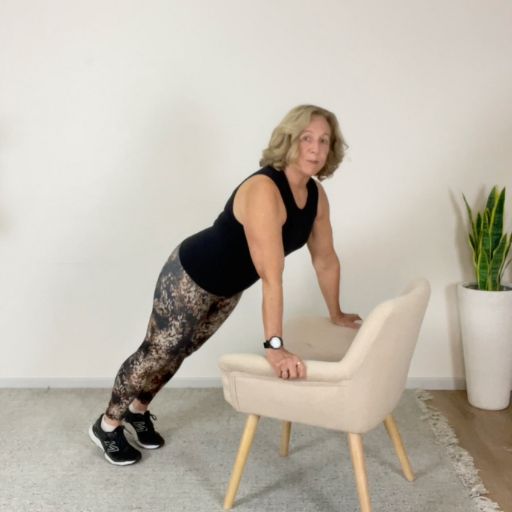
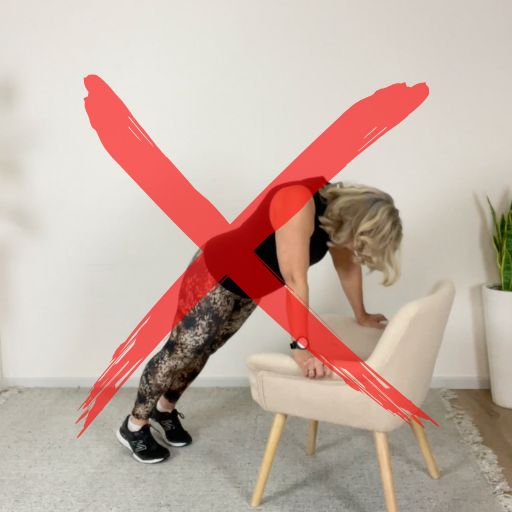
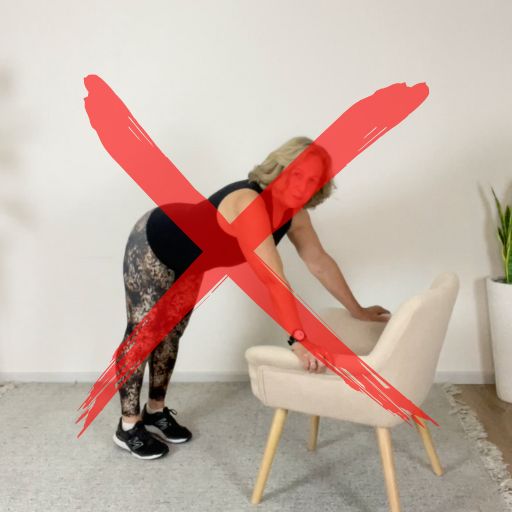
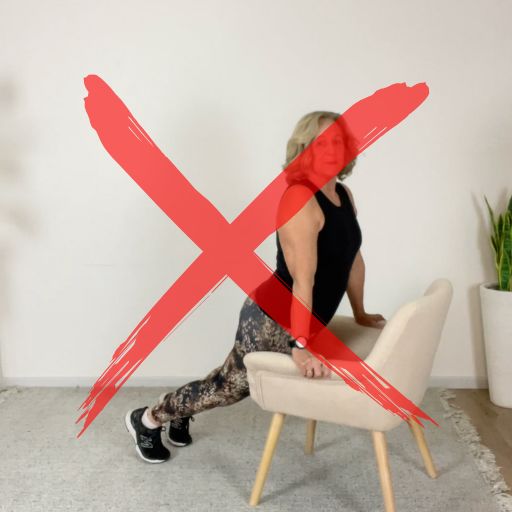
So we're just going to have our chair, and I'm just going to:
- Step out from the chair and hold myself, that's a basic chair plank
- DON'T let your head hang down
- DON'T stick your bottom out
- DON'T drop your hips down
This is what you can be doing at home to get stronger. It is amazing how your arms, your core, and everything will get stronger, but if you feel that in your back, have a rest, and then maybe try again.
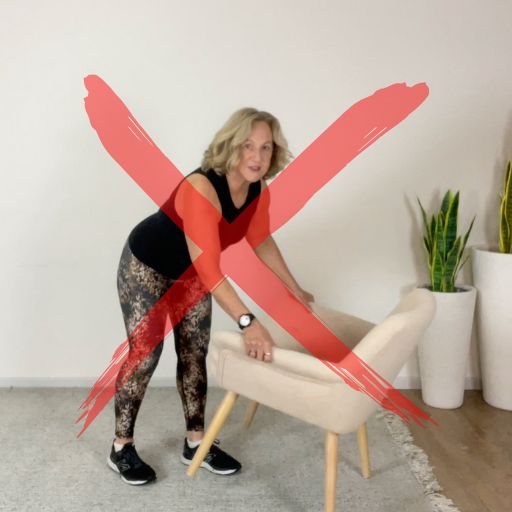

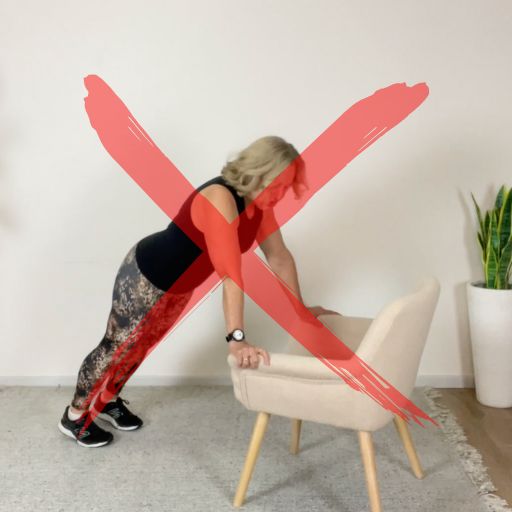
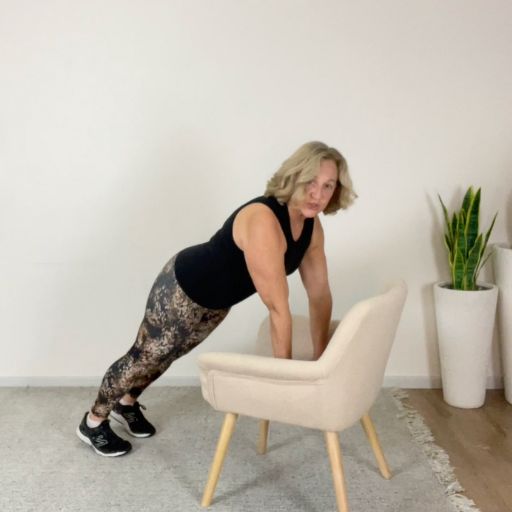
NOTE: The main thing you want to be doing here to keep yourself safe is:
- Have your chair against a wall so it does not flip over
- Trying to stay right over the top of the chair
- Rather than back to the front of the arms where you're trying to push the chair forward
3. Chair Plank Exercises:
So once in this plank position we can:

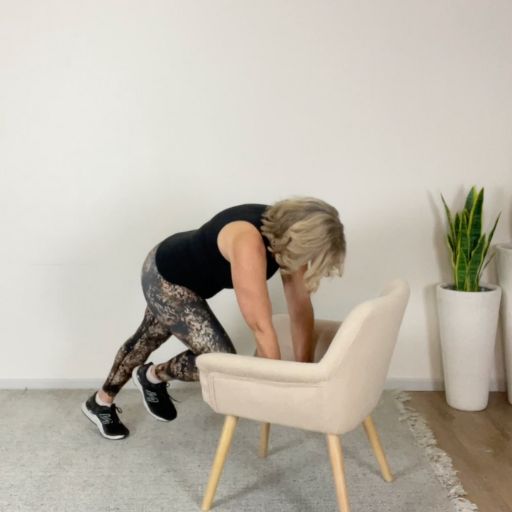
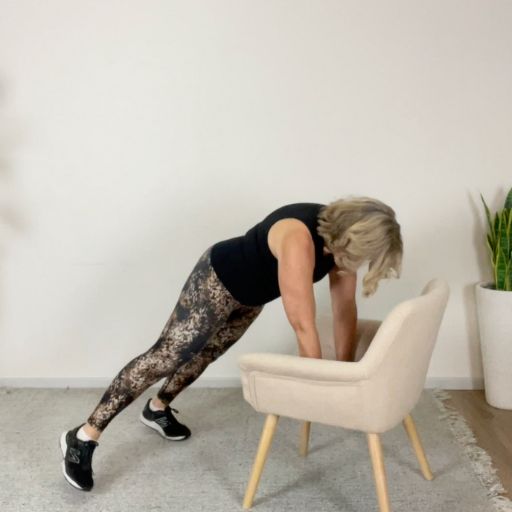
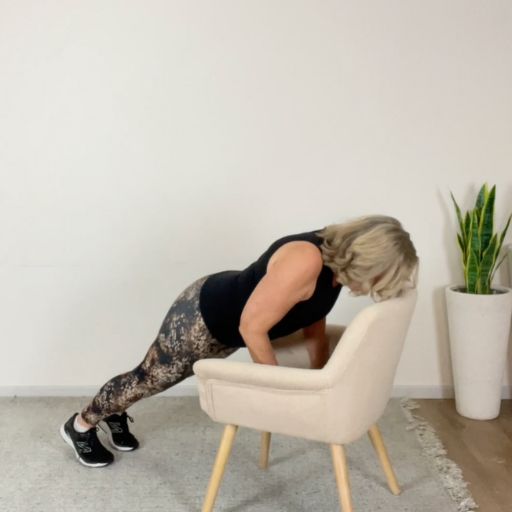
- Bring a knee up, alternating sides, ensuring that you hold that belly button in
- Take a foot out to the side, and alternating sides, while holding that core on
- Do a push-up as well
4. Floor Plank Exercises:
Now, I'm going to go down to the floor and show you how to be doing the plank on the floor and a few different variations there.
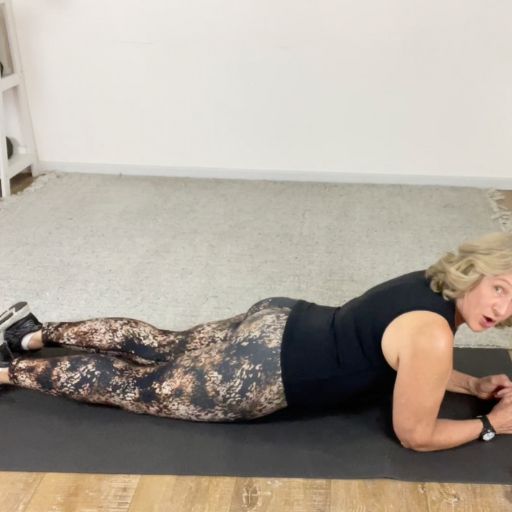
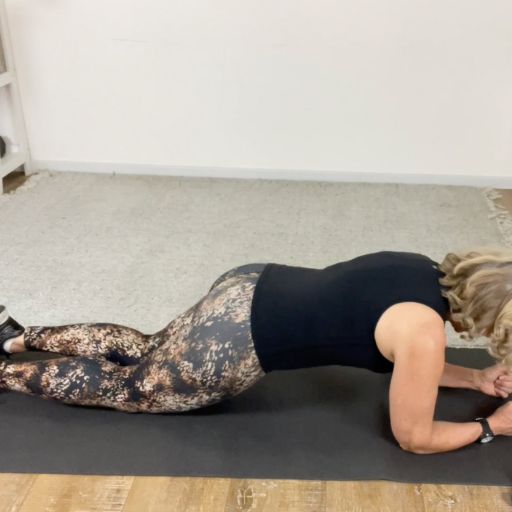
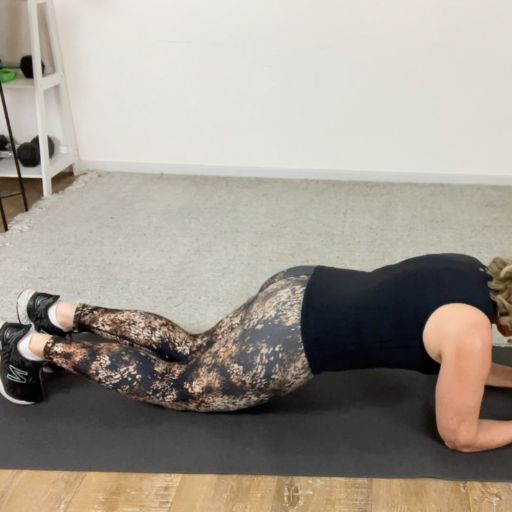
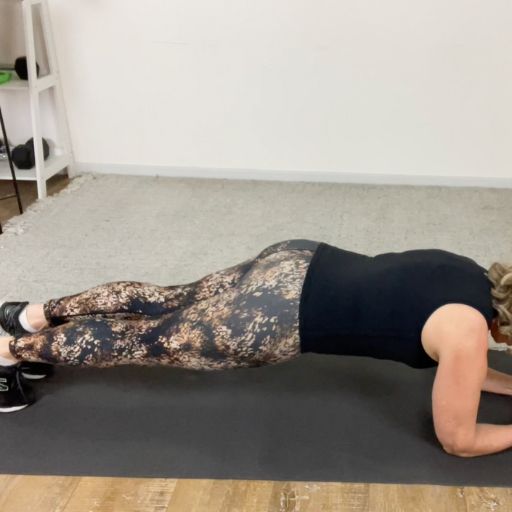
- So lying down on the floor
- The very easiest way to do a plank is really from our knees, and remember to hold that core on by pulling that belly button up
- A bit more advanced version of there is to curl those toes under
- and coming up to to a full horizontal plank
DON'T when doing this plank:

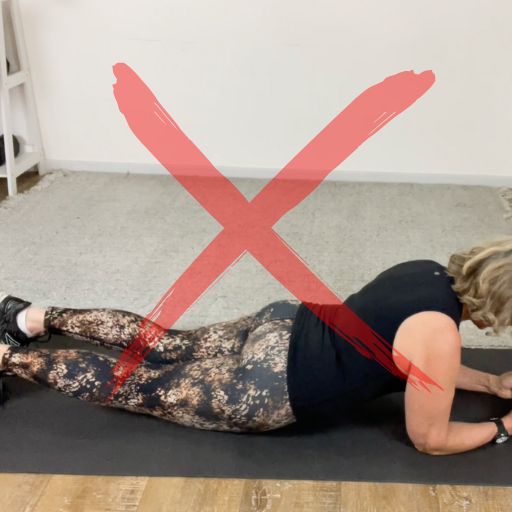
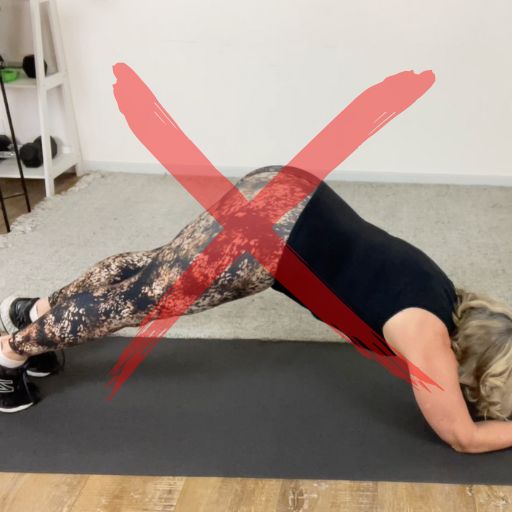
- Drop the hips down
- Stick the bottom in the air
5. Floor Plank/Pushup Exercises:
Now from here, we can advance a little bit more
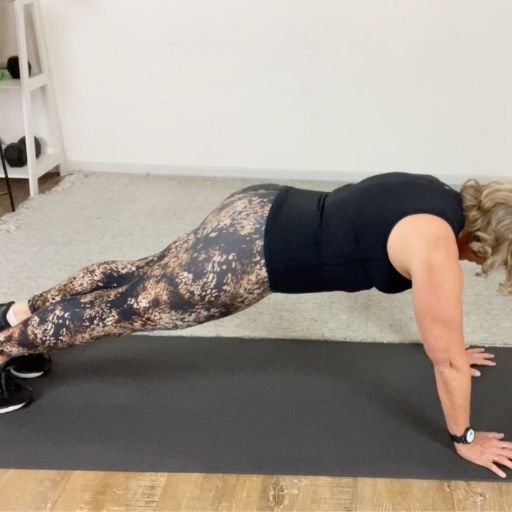
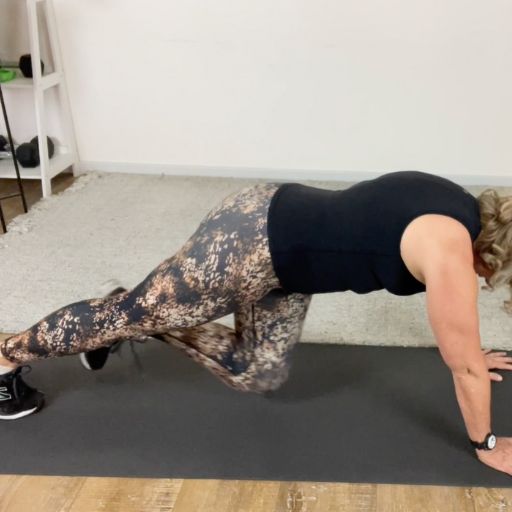
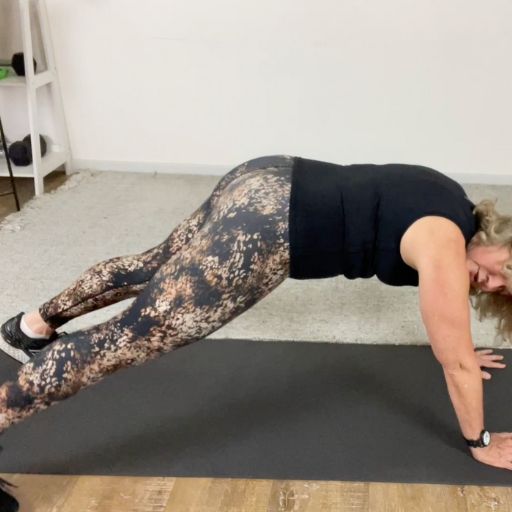
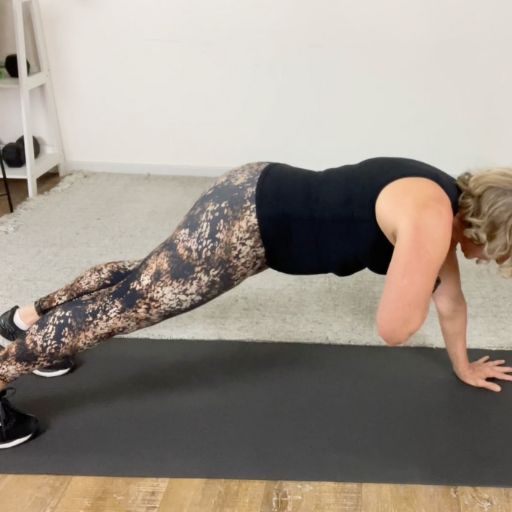
- From a full extended plank position
- Bring the knee in and back, repeating both sides
- We can tap a leg to the side
- And we can tap our shoulder with hand alternating sides
Then with hands shoulder width apart we can we can do alternating elbow dip pushups

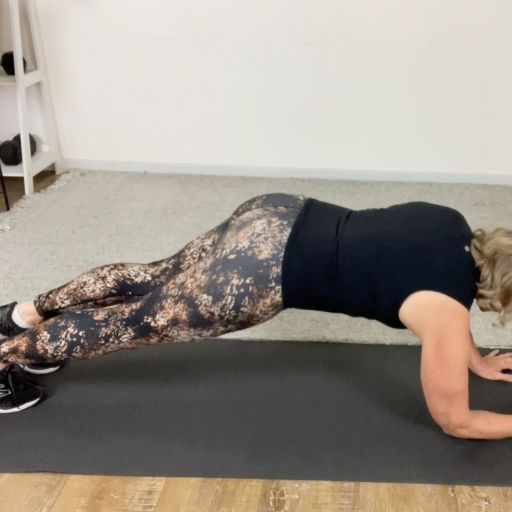
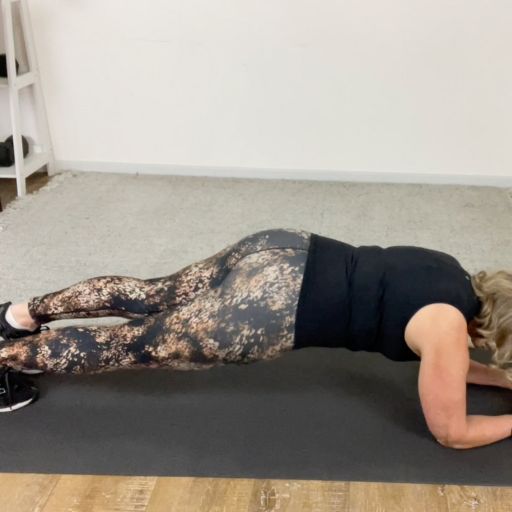

- Drop to one elbow
- Drop to both elbows
- Back up to one arm straight
- Then back to starting position

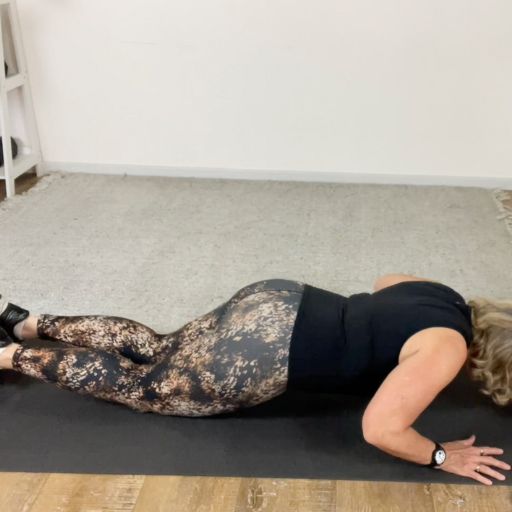

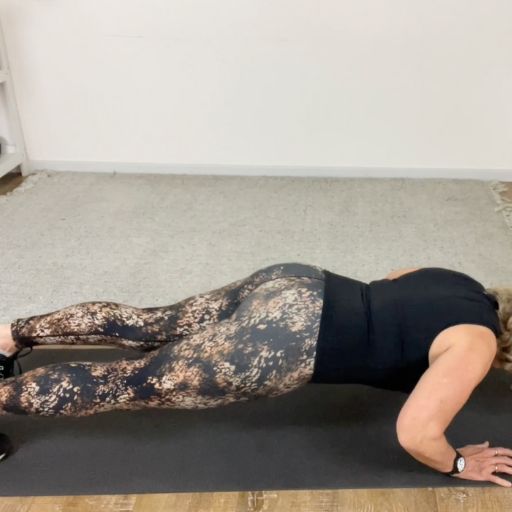
- From a knee and straight arm plank position, we can do pushups
- And from full plank position we can do traditional pushups

And finally for those who would like to challenge themselves, you can time yourself for how long you can hold a plank position. Seeking to improve with every attempt.
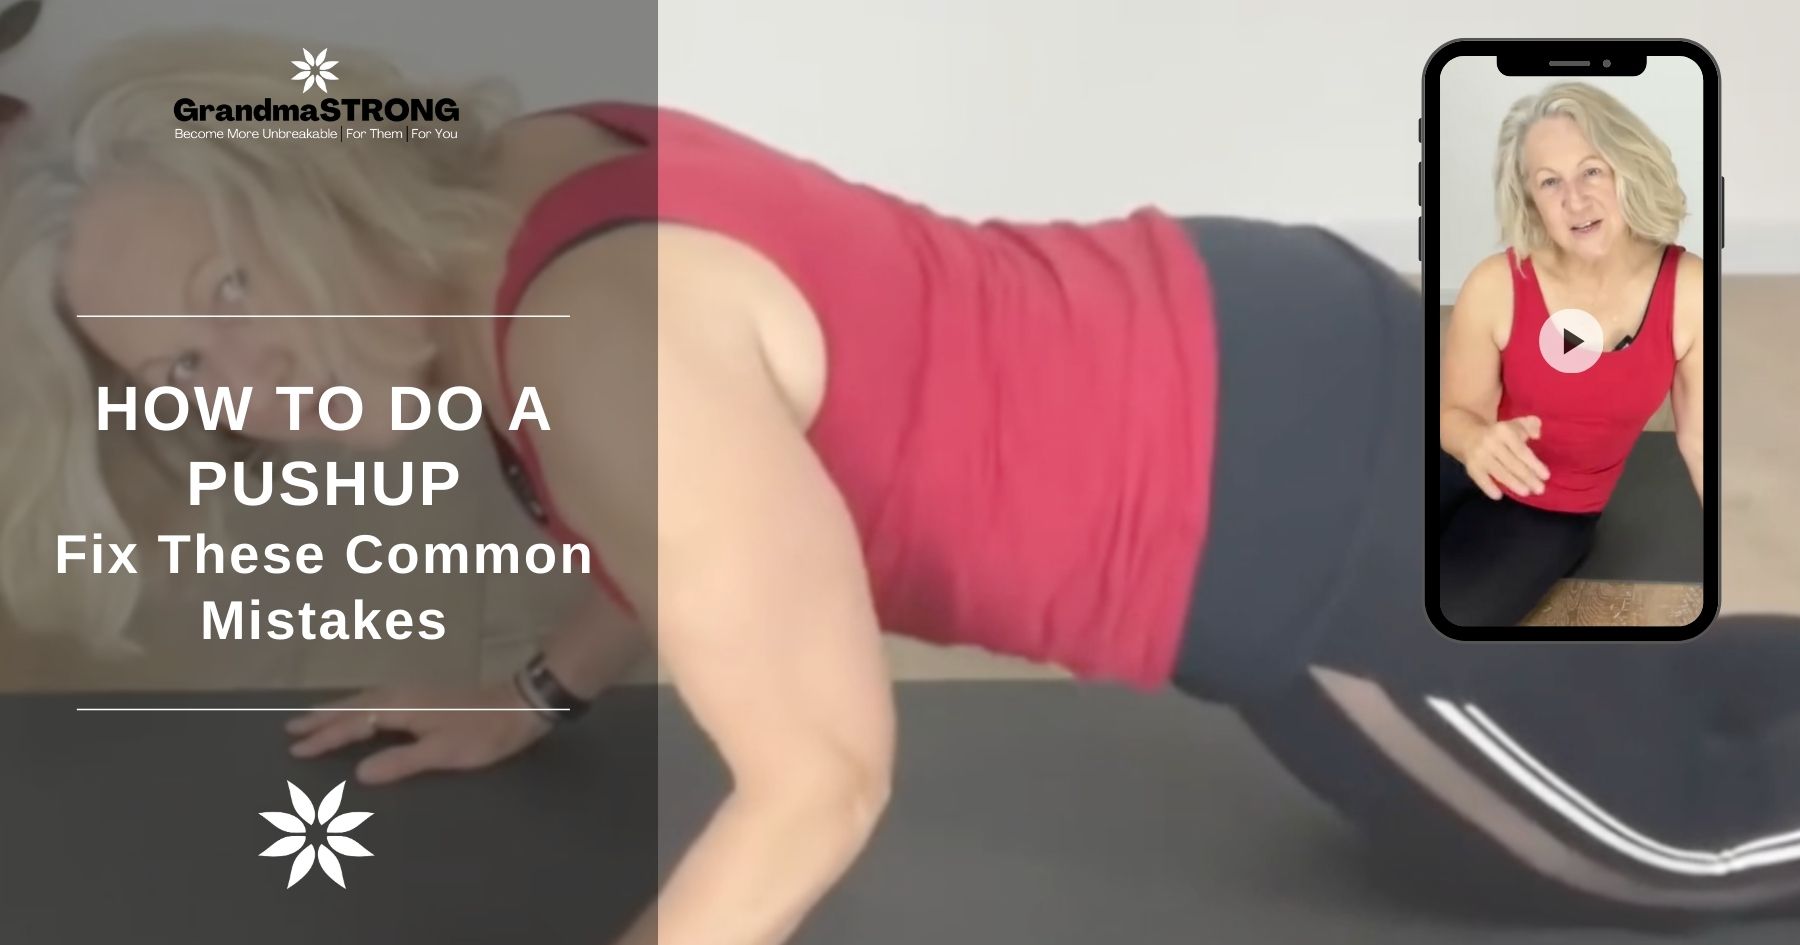
Related post on beginner pushups, Click Image/Link
Final Thoughts
Well done on your effort. These three moves can help you regain muscle and strength over time.
Remember: progress takes time. Nobody gets to the goal straight away, but with consistency, your body can transform.
Let me know how you go, and keep moving strong!
